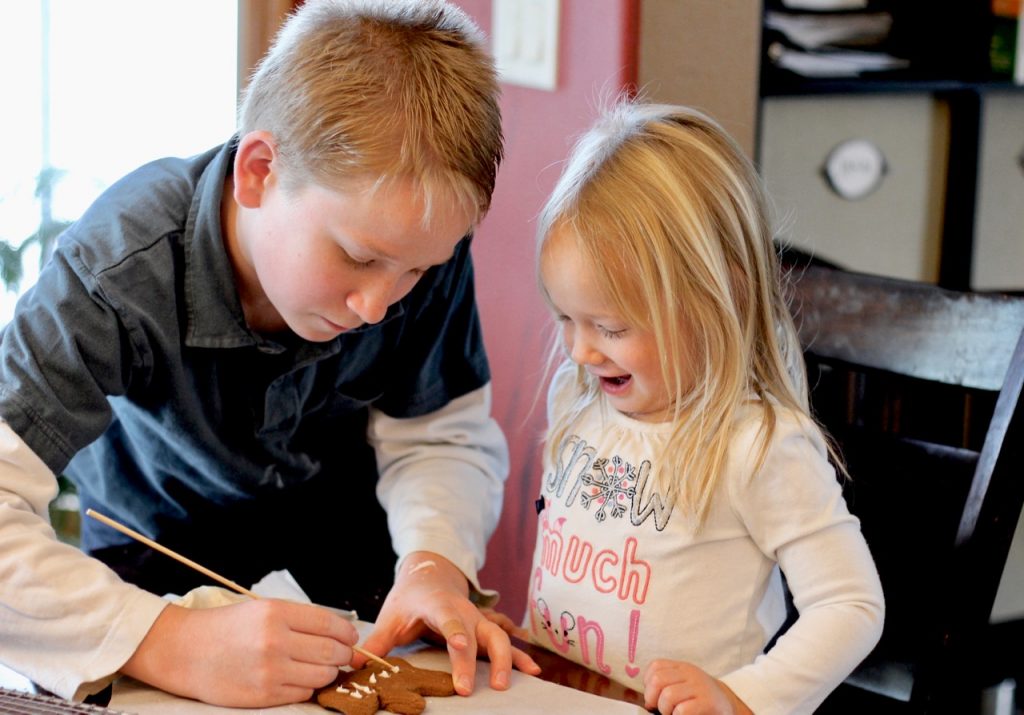
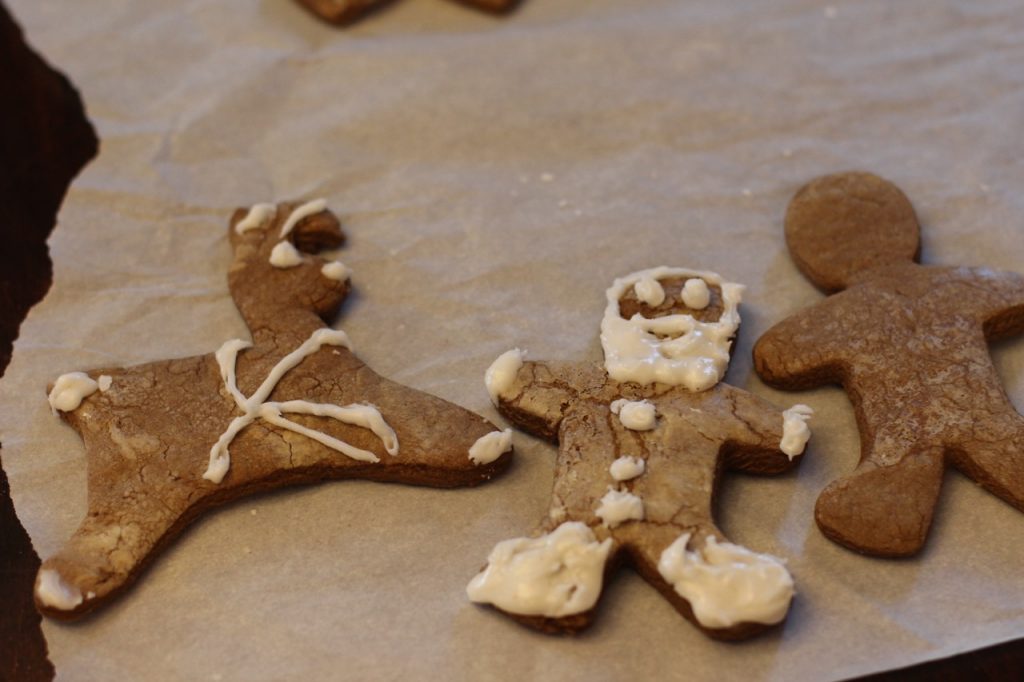
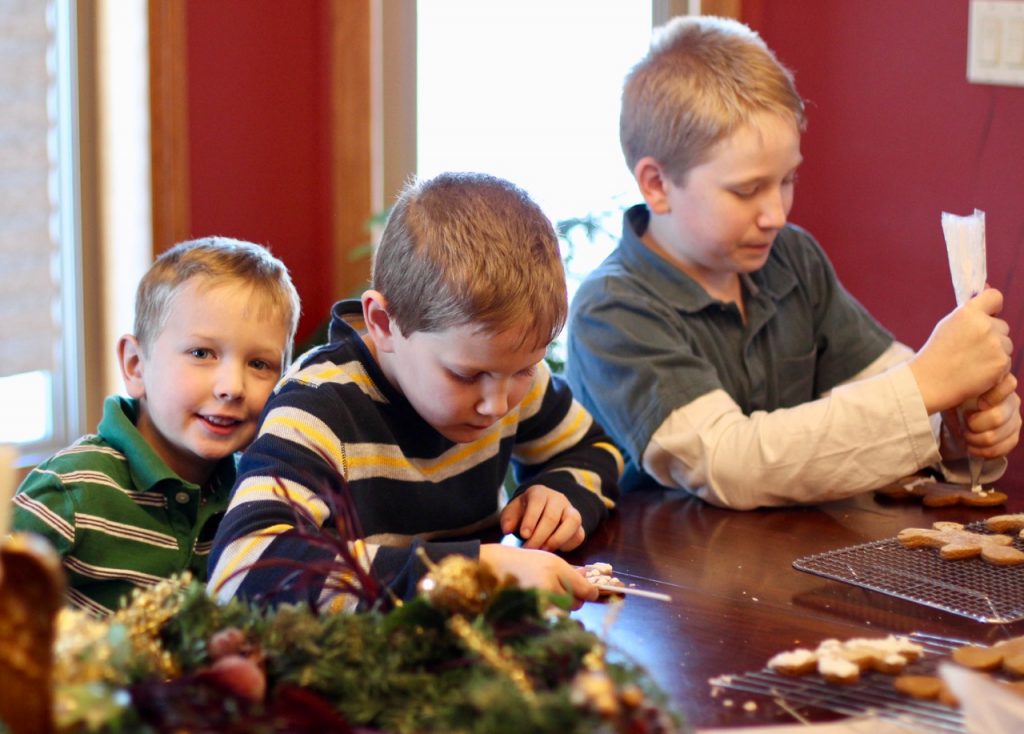
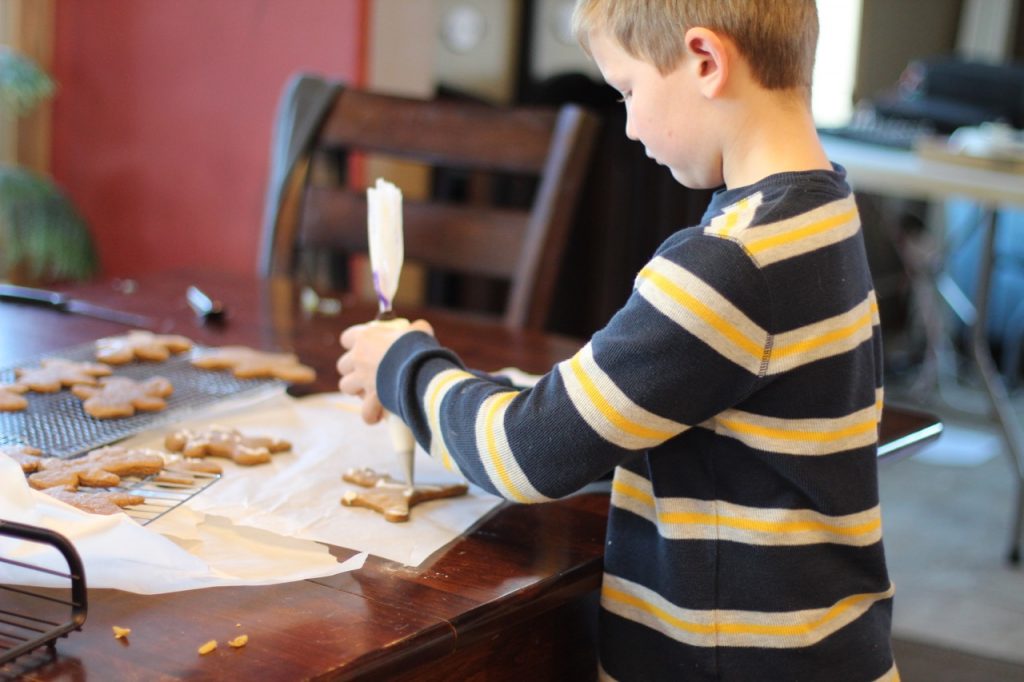
Gingerbread men

recipe from online, and my changes.

  • 9 Tablespoons butter, softened to room temperature
  • 1 1/4 cup packed light or dark brown sugar
  • 2/3 cup mild molasses
  • 1 large egg, at room temperature
  • 1 teaspoon pure vanilla extract
  • 4 cups  all-purpose flour
  • 1 teaspoon baking soda
  • 1/2 teaspoon salt
  • 1 Tablespoon ground ginger
  • 1 Tablespoon ground cinnamon
  • 1/2 teaspoon allspice
  • 1/2 teaspoon ground cloves

Directions:

  1. In a large bowl using a hand-held mixer or stand mixer fitted with a paddle attachment, beat the butter for 1 minute on medium speed until completely smooth and creamy. Add the brown sugar and molasses and beat on medium high speed until combined and creamy-looking. Scrape down the sides and bottom of the bowl as needed. Next, beat in egg and vanilla on high speed for 2 full minutes. Scrape down the sides and bottom of the bowl as needed. The butter may separate; that’s ok.
  2. In a separate bowl, whisk the flour, baking soda, salt, ginger, cinnamon, allspice, and cloves together until combined. On low speed, slowly mix into the wet ingredients until combined. The cookie dough will be quite thick and slightly sticky. Divide dough in half and place each onto a large piece of plastic wrap. Wrap each up tightly and pat down to create a disc shape. Please see photo and description above in my post. Chill discs for at least 3 hours and up to 3 days. Chilling is mandatory for this cookie dough. I always chill mine overnight.
  3. Preheat oven to 350°F (177°C). Line 2-3 large baking sheets with parchment paper or silicone baking mats. (Always recommended for cookies.) Set aside.
  4. Remove 1 disc of chilled cookie dough from the refrigerator. Generously flour a work surface, as well as your hands and the rolling pin. Don’t be afraid to continually flour the work surface as needed- this dough can be sticky. Roll out disc until 1/4-inch thick. Cut into shapes. Place shapes 1 inch apart on prepared baking sheets. Re-roll dough scraps until all the dough is shaped. Repeat with remaining disc of dough.
  5. Bake cookies for about 9-10 minutes. If your cookie cutters are smaller than 4 inches, bake for about 8 minutes. If your cookie cutters are larger than 4 inches, bake for about 11 minutes. My oven has hot spots and yours may too- so be sure to rotate the pan once during bake time.
  6. Allow cookies to cool for 5 minutes on the cookie sheet. Transfer to cooling rack to cool completely. Once completely cool, decorate as desired.

Amazing Chocolate Cake

Buttermilk and chocolate squares are the secret ingredients .


5 ounces semi sweet chocolate, coarsely chopped

2 1/4 cups cake flour (not self-rising)

3/4 cup unsweetened cocoa (preferably Dutch processed)

1 1/2 teaspoons baking powder

1/2 teaspoon baking soda

1/2 teaspoon salt

1 cup lukewarm coffee (or water, if you don’t like the taste of coffee)

1 cup buttermilk

1 1/4 cups  unsalted butter, room temperature

2  cups  granulated white sugar

5 large eggs, room temperature

1 1/2 teaspoons pure vanilla extract

Preheat oven to 350 degrees F (180 degrees C) and place oven racks in the upper and lower third of the oven. Lightly butter and flour  a 9×13 pan. In a heatproof bowl, placed over a saucepan of simmering water, melt the chopped chocolate. Remove from heat and let cool to room temperature.

In a separate bowl, sift the flour, cocoa powder, baking powder, baking soda and salt.

In a small bowl, combine the coffee (or water) and buttermilk.

In the bowl of your electric mixer, or with a hand mixer, beat the butter until smooth and creamy. Add the sugar and continue beating until the mixture is fluffy (about three to five minutes). Scrape down the sides of the bowl as needed. Add the eggs, one at a time, mixing well after each addition. Add the vanilla extract and beat to combine. Then add the melted chocolate and beat until incorporated. Add the coffee/ buttermilk mixture and flour mixture in three additions, beginning and ending with the flour mixture. Beat only until the ingredients are mixed together.

Divide the batter evenly among the three prepared pans and smooth the tops, then rap pan on counter several times to eliminate air bubbles. Bake for about 30 – 35 minutes or until a toothpick inserted in the center comes out clean and the tops spring back when lightly pressed. (I like to rotate the pans about halfway through baking to ensure even baking.) Remove from oven and place on a wire rack to cool for about 15 minutes.

Sun-Dried Tomato and Spinach Pasta

This cream-less pasta dish is light and tasty, and the flavor of the sun dried tomatoes is vibrant.

2 cups vegetable broth

1 jar oil packed sun-dried tomatoes

1 (16 ounce) package uncooked penne pasta

2 tablespoons pine nuts

1 tablespoon olive oil

1/4 teaspoon crushed red pepper flakes, plus extra for garnish

3 cloves garlic, minced

2 bunch fresh spinach, rinsed and torn into bite-size pieces

1/2 cup grated Parmesan cheese, plus extra for garnish

Bring a large pot of lightly salted water to a boil. Place penne pasta in the pot, cook 9 to 12 minutes, until al dente, and drain.

Place the pine nuts in a skillet over medium heat. Cook and stir until lightly toasted.

Heat the olive oil and oil from tomatoes and red pepper flakes in a skillet over medium heat, and saute the garlic 1 minute, until tender. Mix in the spinach, and cook until almost wilted. Pour in the reserved broth, and stir in the chopped sun-dried tomatoes. Continue cooking 2 minutes, or until heated through.

In a large bowl, toss the cooked pasta with the spinach and tomato mixture, parmesan, and pine nuts. Serve with Parmesan cheese.

Thanksgiving Break

Thanksgiving break is finally here. Despite writing last about how close Thanksgiving seemed, while wading through my schoolwork it seemed that it would never actually come. I had an intensely busy pre-break week, filled with two tests, three papers, two nights of substitute ballet teaching, and two afternoons of babysitting.   After the constant time management and studying, it’s hard for my brain to have it all come to an end and not need to do anything. None of my teachers assigned any homework over the 5-day holiday (I love it when teachers treat a break as an actual break. So many love to give large projects or tests for us to study while we’re away), so  I really have nothing school related to do.

Luckily, there is plenty to do at home, the foremost thing being cooking for our Thanksgiving meal. I used to cook so much before I was a college student, that during the school year I really have the urge to bake and bake and bake as soon as I have a chance. It’s a good thing there’s so many mouths around to help me eat up all the treats!

Peach Crisp

Last weekend, there was a peach festival in town.  Or rather, a very long line of vendors calling themselves a peach festival. It sounded interesting, so my Mom took all of kids and me to see what it was like. There were bouncy castles, snow cones, brand name washcloths and baby clothes-seemingly everything but peaches.  It was rather a disappointment, but fortunately, right before we left, we found one booth selling peaches. We brought home two bags, and they were going to get moldy fast, so Maria helped me cut them up to make a peach crisp.

IMG_3272

Middle:

  • 10 cups of peaches, peeled and chopped
  • 1/2 cup brown sugar
  • 1/4 cup white sugar
  • 2 tablespoons lemon juice
  • 2 tablespoons flour
  • 2 tablespoons corn starch

Combine all ingredients and pour into the largest baking pan available.

Topping

  • 2 cups oats
  • 1 cup flour
  • 1 cup brown sugar
  • 2 sticks of butter

Combine 1st three ingredients, then cut in butter.

It was delicious, and Dominic approved.IMG_3276

IMG_3277

IMG_3279

The Cake Secret

My quest to find the perfect cake recipe has ended. I shall never again feel that dreadful sinking feeling at the first bite of ill-textured cake.  For after six years of trying out recipes that turned out dry and biscuit-like, I have discovered the two ingredients that make a cake perfect.

The first step in the right direction came from Alton Brown, who stressed the importance of using the right kind of flour when baking. Cake flour has a very soft texture, and really is necessary if you want a good textured cake.

The other ingredient essential to a moist, delicious cake is buttermilk. The discovery of how important buttermilk really is happened almost by accident. It was my birthday and I wanted a chocolate cake. We had a recipe for chocolate cake that was heavenly, but at the last minute we realized we didn’t have any buttermilk, which the recipe called for. We substituted regular milk instead, and what a disappointment we had when we tasted it!

So, on Joseph’s birthday I went hunting for a yellow cake recipe that included cake flour and buttermilk, and spent less than two minutes looking for one. It was incredible. The perfect balance of lightness and density, and very, very moist. It had a taste reminiscent of a Betty Crocker mix without the tell-tale boxed flavor.  Here is the recipe:


4 cups plus 2 tablespoons (480 grams) cake flour (not self-rising)
2 teaspoons (10 grams) baking powder
1 1/2 teaspoons baking soda
1 teaspoon (5 grams) table salt
2 sticks (1 cup, 1/2 pound or 225 grams) unsalted butter, softened
2 cups (400 grams) sugar
2 teaspoons (10 ml) pure vanilla extract
4 large eggs, at room temperature
2 cups buttermilk (475 ml), well-shaken 

Preheat oven to 350°F. Butter two 9-inch round cake pans and line with circles of parchment paper, then butter parchment. (Alternately, you can use a cooking spray, either with just butter or butter and flour to speed this process up.)

Sift together flour, baking powder, baking soda, and salt in a medium bowl. In a large mixing bowl, beat butter and sugar in a large bowl with an electric mixer at medium speed until pale and fluffy, then beat in vanilla. Add eggs 1 at a time, beating well and scraping down the bowl after each addition. At low speed, beat in buttermilk until just combined (mixture will look curdled). Add flour mixture in three batches, mixing until each addition is just incorporated. 

Spread batter evenly in cake pan, then rap pan on counter several times to eliminate air bubbles. (I like to drop mine a few times from two inches up, making a great big noisy fuss.) Bake until golden and a wooden pick inserted in center of cake comes out clean, 35 to 40 minutes. Cool in pan on a rack 10 minutes, then run a knife around edge of pan. Invert onto rack and discard parchment, then cool completely, about 1 hour.


I used a 9×13 pan and adjusted the cook time accordingly, and it was just a little on the sweet side so I’ll probably cut the sugar back a little next time. Other than that, you couldn’t ask for a better cake. Here’s the recipe for the previously mentioned chocolate cake also:


5 ounces (115 grams) semi sweet chocolate, coarsely chopped

2 1/4 cups (270 grams) cake flour

3/4 cup (70 grams) unsweetened cocoa (preferably Dutch processed)

1 1/2 teaspoons baking powder

1/2 teaspoon baking soda

1/2 teaspoon salt

1 cup (240 ml) lukewarm coffee (or water)

1 cup (240 ml) buttermilk

1 1/4 cups (280 grams) unsalted butter, room temperature

2  cups (450 grams) granulated white sugar

5 large eggs, room temperature

1 1/2 teaspoons pure vanilla extract 

Preheat oven to 350 degrees F (180 degrees C) and place oven racks in the upper and lower third of the oven. Lightly butter and flour (or spray with a nonstick vegetable/flour spray), and line the bottoms of three – 8 x 2 inch deep (20 x 5 cm) round baking pans with parchment or wax paper, .

In a heatproof bowl, placed over a saucepan of simmering water, melt the chopped chocolate. Remove from heat and let cool to room temperature.

In a separate bowl, sift the flour, cocoa powder, baking powder, baking soda and salt.

In a small bowl, combine the coffee (or water) and buttermilk.

In the bowl of your electric mixer, or with a hand mixer, beat the butter until smooth and creamy. Add the sugar and continue beating until the mixture is fluffy (about three to five minutes). Scrape down the sides of the bowl as needed. Add the eggs, one at a time, mixing well after each addition. Add the vanilla extract and beat to combine. Then add the melted chocolate and beat until incorporated. Add the coffee/ buttermilk mixture and flour mixture in three additions, beginning and ending with the flour mixture. Beat only until the ingredients are mixed together.

Divide the batter evenly among the three prepared pans and smooth the tops. Bake for about 30 – 35 minutes or until a toothpick inserted in the center comes out clean and the tops spring back when lightly pressed. (I like to rotate the pans about halfway through baking to ensure even baking.) Remove from oven and place on a wire rack to cool for about 15 minutes. 


Enjoy! and try not to eat the entire pan at once. : )



Apple Pie

Tapioca starch makes the sauce of this classic dessert luxuriously silky and thick. Double the filling and put in a 9×13 pan with a streusel topping for a great crisp.

5 granny smith apples, some skin removed and chopped into 1 inch pieces

3/4 cup sugar

3 T sour cream

3 T Tapioca starch (the key to the perfect sauce)

1 t fresh ground nutmeg (fresh makes all the difference)

1 1/2 t cinnamon

Pie crust in a 9 inch pie dish, plus extra pie crust for on top

Preheat oven to 350. Mix first five ingredients together until smooth, then pour into pie crust. Top with second crust and cut  several steam vents. Cook 45-50 minutes, until crust is golden and you can see boiling through the steam vents. Edges of the pie crust often need to be covered with tin foil halfway through baking to protect them from burning.

Pure Deliciousness

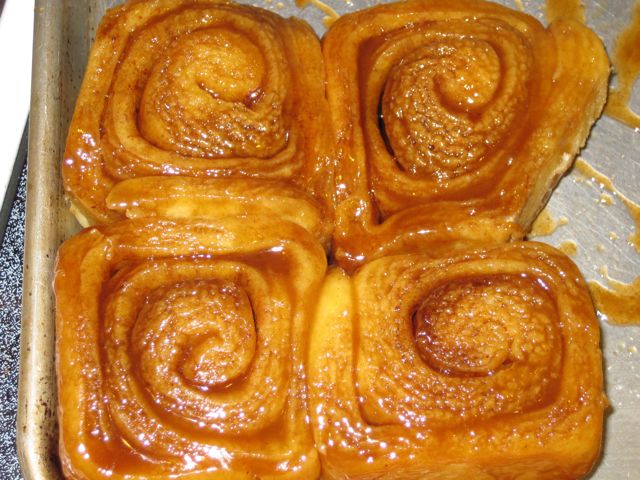
I’ve been wanting to try making cinnamon rolls for a long time, but they seemed rather intimidating. I finally got up the courage to try, and they turned out to be a lot easier than I expected. Since it was my first time kneading bread dough, I was afraid I was going to mess something up. However, they turned out perfectly, and everyone in the family gobbled them down. They were soft and sticky, and being fresh out of the oven, they were much better than the ones I have tasted from the store.

cinnamon-rolls

The Muffin Man

J+M+J

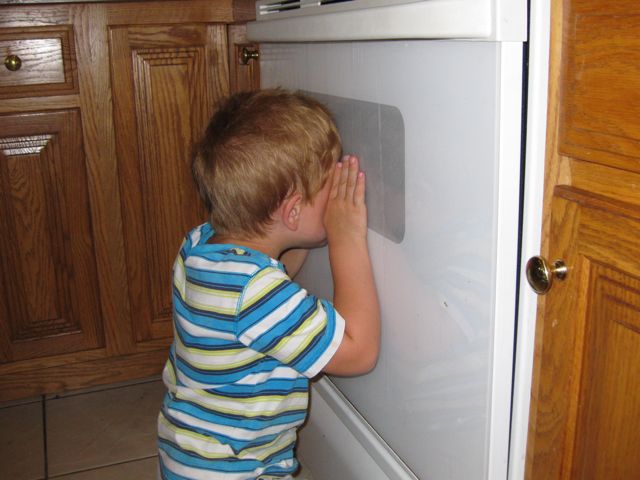
Sunday after church, Alexander declared he was going to be a priest. When we asked Joseph if he was going to be a priest also, he responded, “No, I’m gonna be the muffin man, remember?”

“Do you like eating muffins, Joseph?” Dad asked.

“Yes, but I even more like making muffins,” he replied.

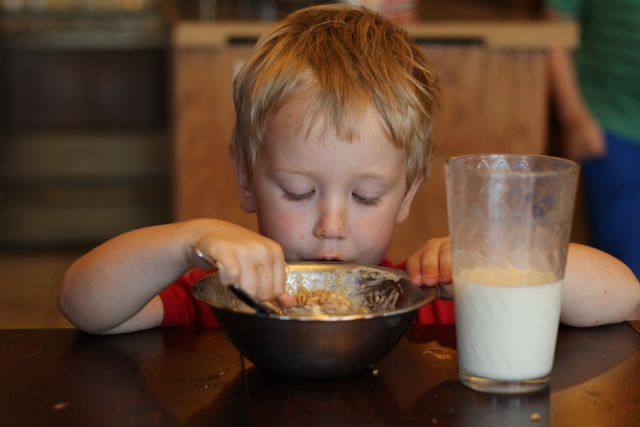
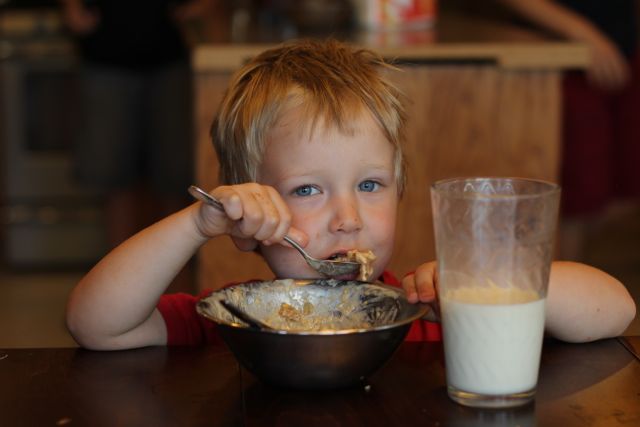
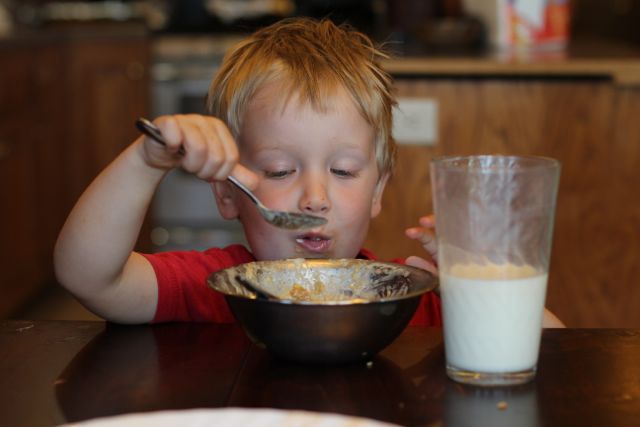
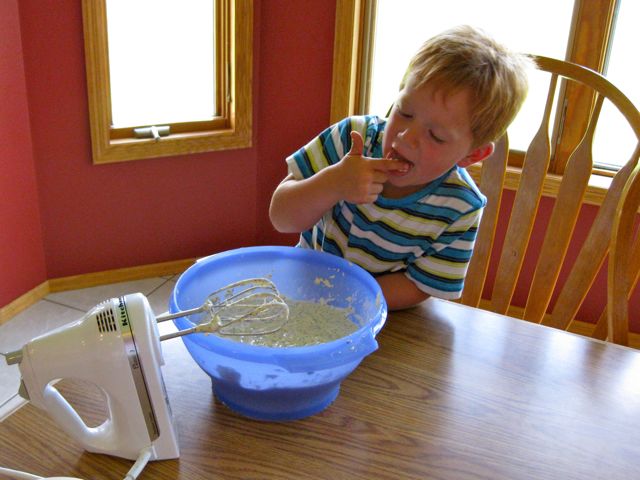
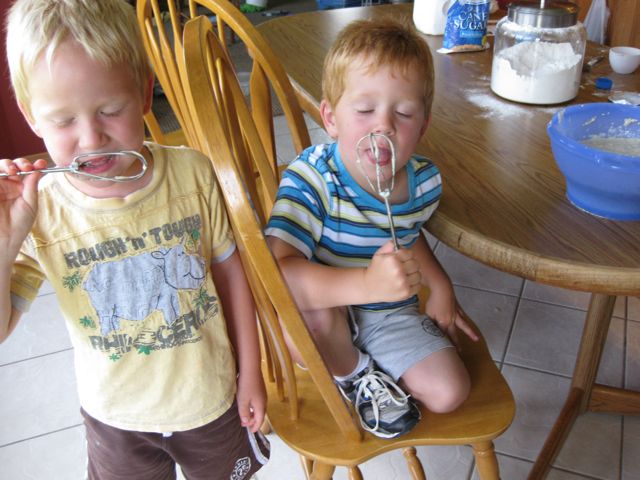
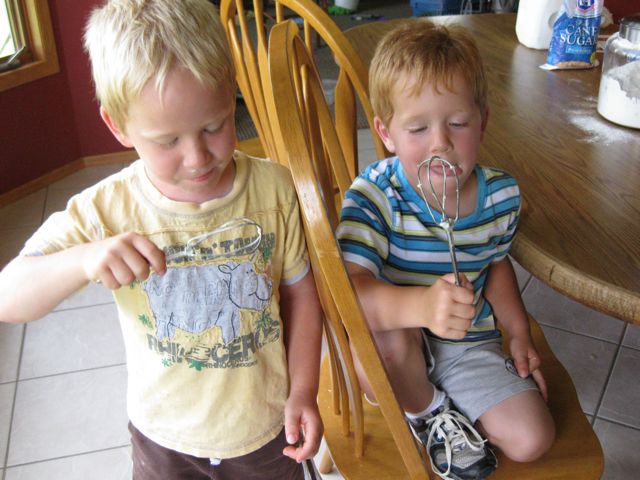
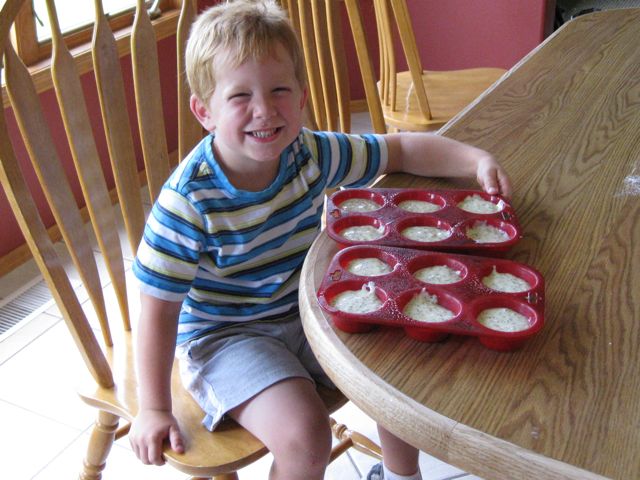
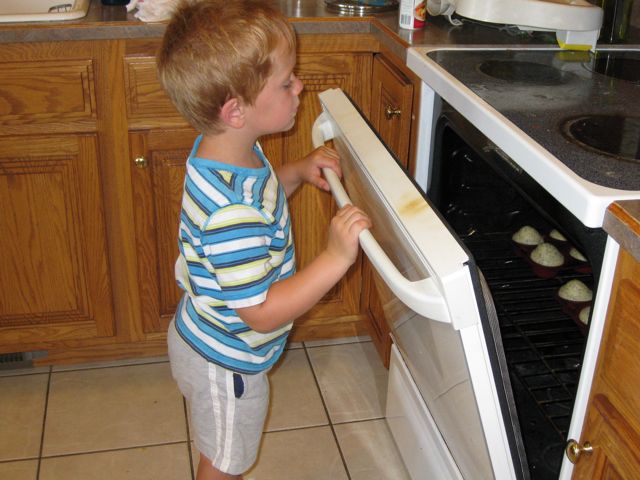
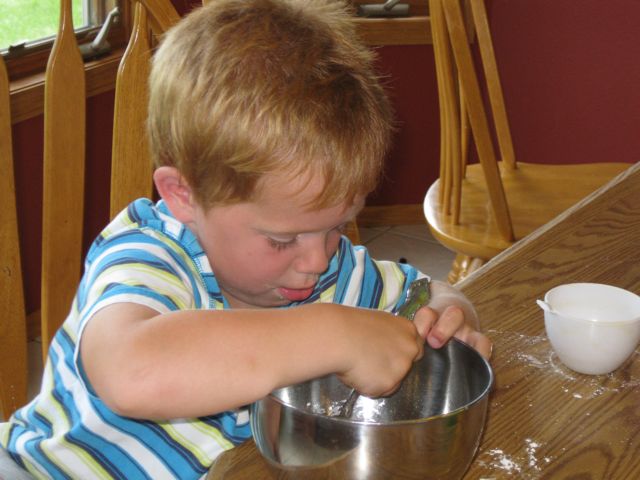
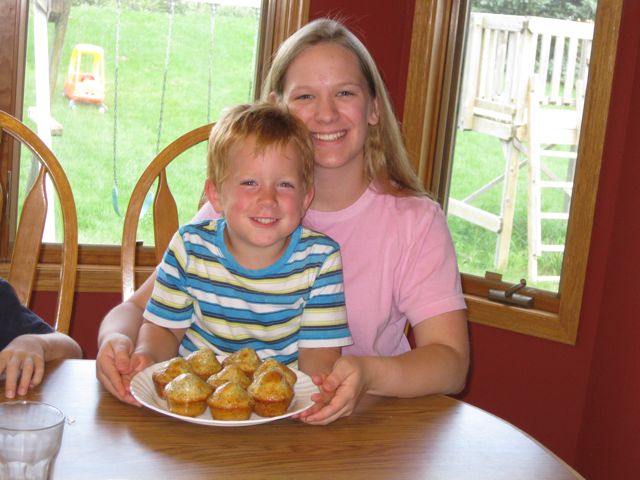
So, today I made lemon poppy seed muffins with the muffin man.

Tasting the batter

Tasting the batter

Rewards of Baking

Rewards of Baking

muffin-man03

muffin-man05

Waiting impatiently

Waiting impatiently

muffin-man09

Making the lemon glaze.

Making the lemon glaze.

muffin-man10

A+M+D+G