Materials I used to make my Vermicompost bin
- sturdy plastic tub with lid.
- Drill for making holes every 3-6 inches apart, about two inches up from the bottom.
- screen mesh
- Spray Adhesive to spray on the inside of the bucket after drilling the holes, to keep the residents from escaping.
(design courtesy of my father, the weekend engineer)
Putting it all together
I filled the bucket with moistened, loosely shredded cardboard egg cartons, black and white paper scraps, dryer lint, and dried leaves (these are the best!). Then I added some vegetable kitchen scraps and the biome was ready to receive the new arrivals. The red worms came by mail- one pound of them to be exact.
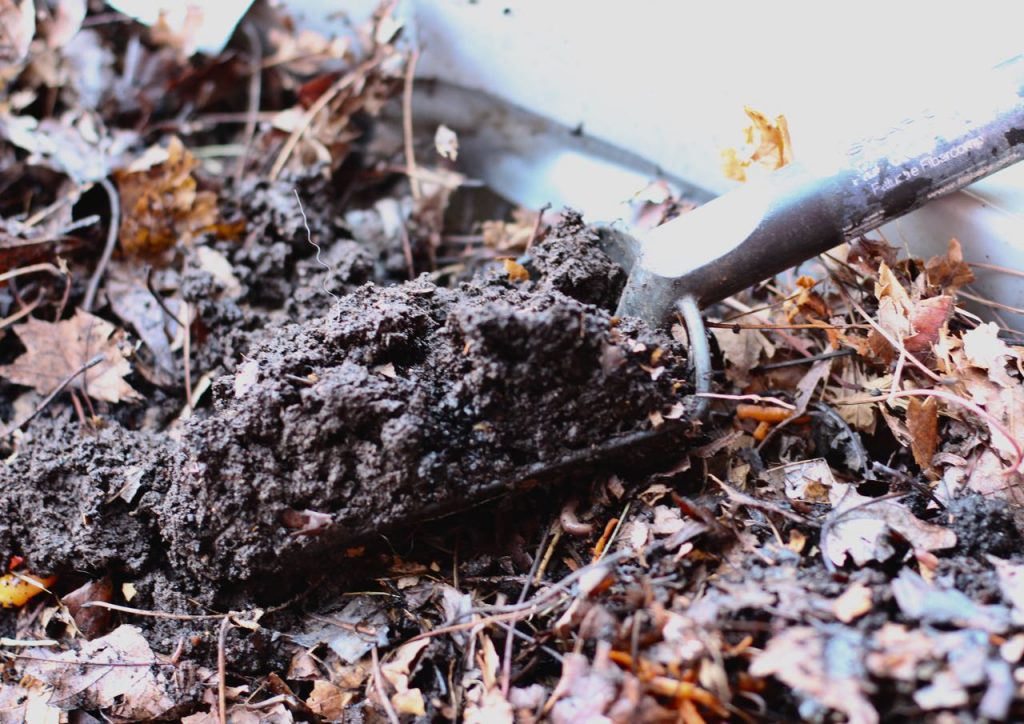
Worm castings are often marketed as black gold since the richness of the nutrients and live microbes fives unparalleled nutrition to plants. The price gives another reason to treat it as treasure. Ever since I started a to learn about the worm compost system, I’ve had a hard time just throwing away coffee grounds and banana peels. One man’s trash can be turned to treasure.
I had varying amounts of fertilizer from the box. The more established they were, the more I got! After I had mine for three years, the worms processed 4 bags of brown leaves in one winter. When I forgot to feed them regularly, they would usually go into hibernation and I would only get a few cups in a few months.I had to watch for escapees during the first weeks before they adapted to their new home. There were several close calls when I first started the box, and I spent an hour returning the migrant nightcrawlers to the bin. Any vegetable matter can go in the box, but definitely no raw meats, citrus fruit, or onions. I brought the box inside when temperatures dipped below 40 degrees. The material will compact as the worms do theirs work. To start a new batch when the current soil is nearly black, scrape most of the castings to one side of the bucket. Add more of the base material, and the worms will migrate that way over the next few weeks.


